
Field Tools for Soil Bioengineering
A practical guide to the cutting tools, digging tools, and planting bars used in soil bioengineering work, based on David Polster's field teaching material.
Good soil bioengineering work depends on good field kit. The species choice and installation pattern matter, but crews also need tools that cut cleanly, open holes at the right depth, and let the planting material reach dependable moisture with minimal unnecessary disturbance.
Adapted from David Polster's field-teaching material on soil bioengineering tools and is meant to complement the more biological guidance on harvesting cuttings.
Tool Groups That Matter Most
Most field kits break into three categories:
1. Cutting Tools
These are the tools used to harvest dormant willow, cottonwood, dogwood, and other live material cleanly.
The goal is not simply to remove stems quickly. It is to:
make clean cuts that do not shred the bark
keep crews moving efficiently during harvest windows
match the cutting tool to the stem size
reduce handling damage before the material reaches the installation site
In practice, that usually means a combination of hand pruners, loppers, pruning saws, and other cutting tools sized to the plant material being harvested.
2. Digging and Pilot-Hole Tools
Once the material is on site, the next constraint is often the ground itself.
Compact till, coarse gravel, dry embankment soils, and dense fill do not always accept live stakes easily by hand. Crews often need:
shovels for access and local loosening
mattocks or grub hoes for compacted surface layers
digging bars or similar tools for pilot-hole work
heavier tools where the site has dense subsoil or glacial material
These tools are especially important on:
live staking jobs in compacted fill
wattle fencing jobs where vertical stakes must reach moisture
live pole drains where alignment and depth matter
3. Planting Bars
Planting bars deserve their own category because they are one of the most useful specialty tools in the soil bioengineering kit.
A good planting bar lets crews:
create a narrow deep planting hole
reach moisture below a dry surface horizon
insert live material without excessive excavation
work faster on slopes and banks where shovels are awkward or destructive
Planting bars are especially effective when crews are installing dormant cuttings into moist subsoil beneath a compacted surface. They help translate the biological requirement into a field operation: the cutting has to reach the zone where it can root successfully.
Matching the Tool to the Site
Tool choice should follow site conditions, not habit.
Moist riparian edge
On a soft streambank or moist shoreline edge, crews may be able to work efficiently with lighter cutting tools and simple planting bars.
Dry or compacted slope
On a hard slope, denser kit is often needed. Pilot-hole tools and heavier bars become more important because the surface layer can prevent the stake from ever reaching usable moisture.
Coarse gravel or cobble
On gravel-bar and coarse alluvial sites, tools that can open deeper holes or support excavator-assisted placement matter far more than generic hand planting approaches.
Why This Matters for Survival
Tool choice directly affects:
stake depth
bark damage
planting speed during short dormant-season windows
crew fatigue and consistency
ultimately, plant survival
That is why a strong field program treats tools as part of the method rather than an afterthought.
Related Reading
Source
Adapted from the legacy PES presentation "Tools for Soil Bioengineering" used in field teaching and crew training.
Core Field Kit
The original PES tool deck breaks the field kit into cutting tools, digging tools, and planting bars. That structure maps well to the way crews actually work: harvest first, open the ground second, and install material to depth.
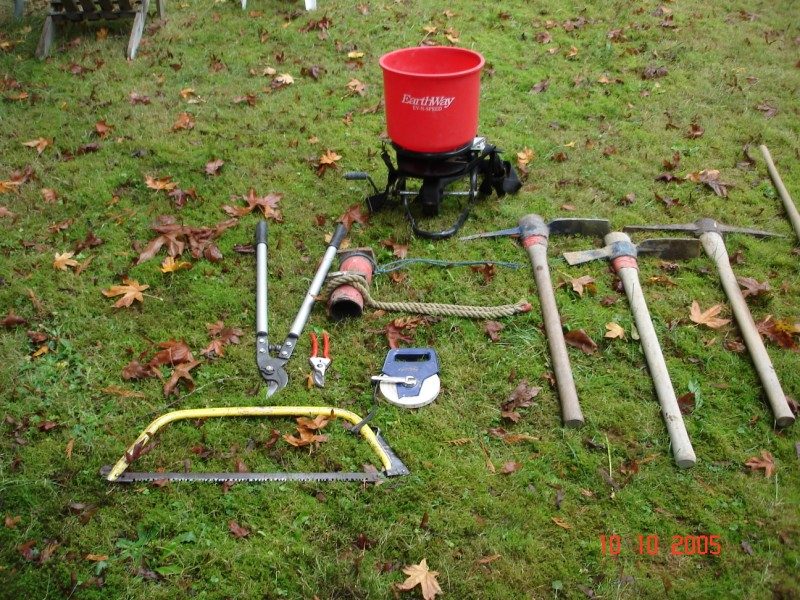
Cutting tools for efficient harvest of dormant willow and cottonwood material.
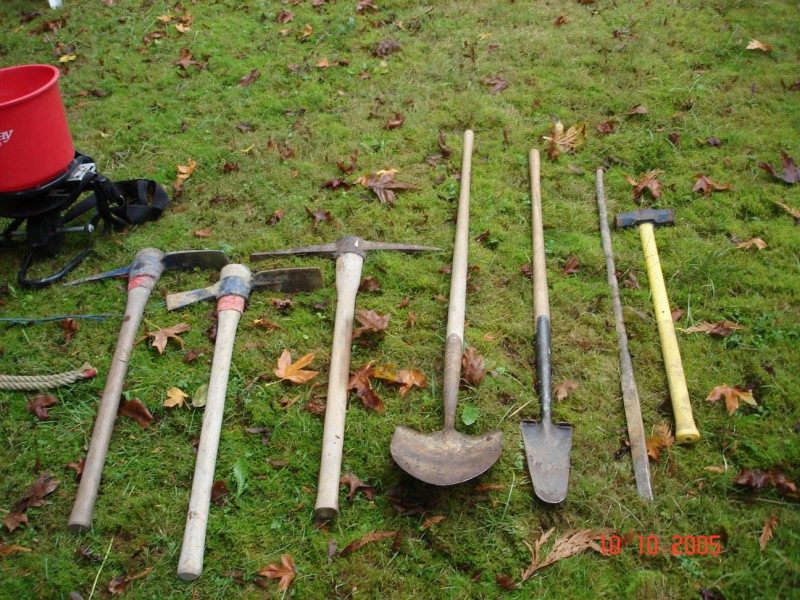
Digging and pilot-hole tools for compacted slopes, hard tills, and coarse substrates.
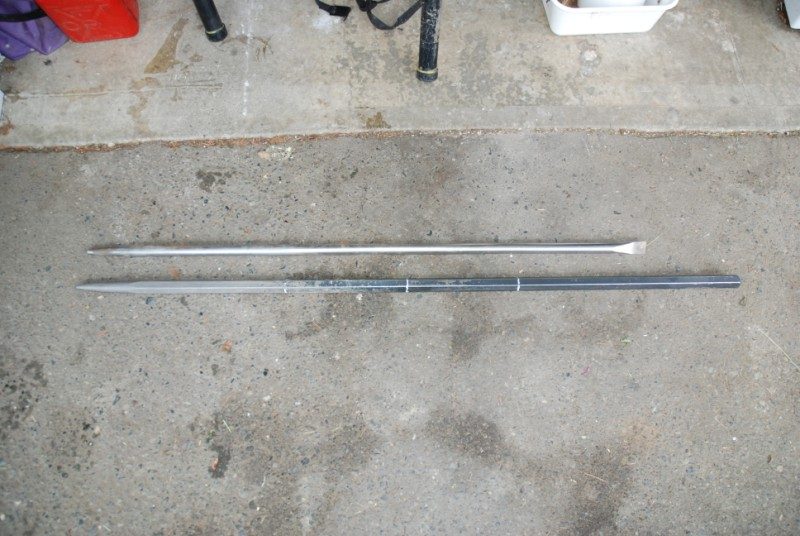
Planting bars help crews reach moisture quickly and consistently with minimal excavation.
David Polster's Soil Bioengineering Toolkit
Soil bioengineering needs surprisingly little equipment, which is a large part of why it is so cost-effective. Most of the work is done by hand. This is the toolkit David Polster refined over four decades of fieldwork across British Columbia.
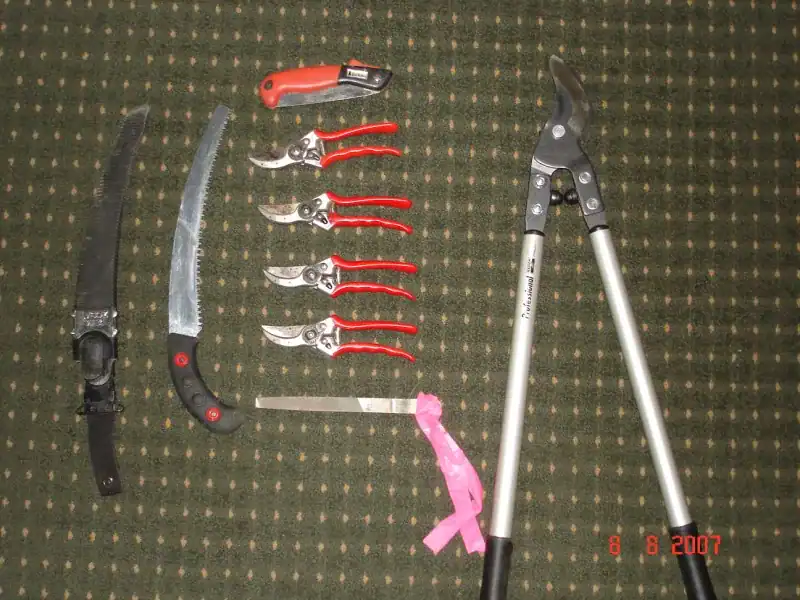
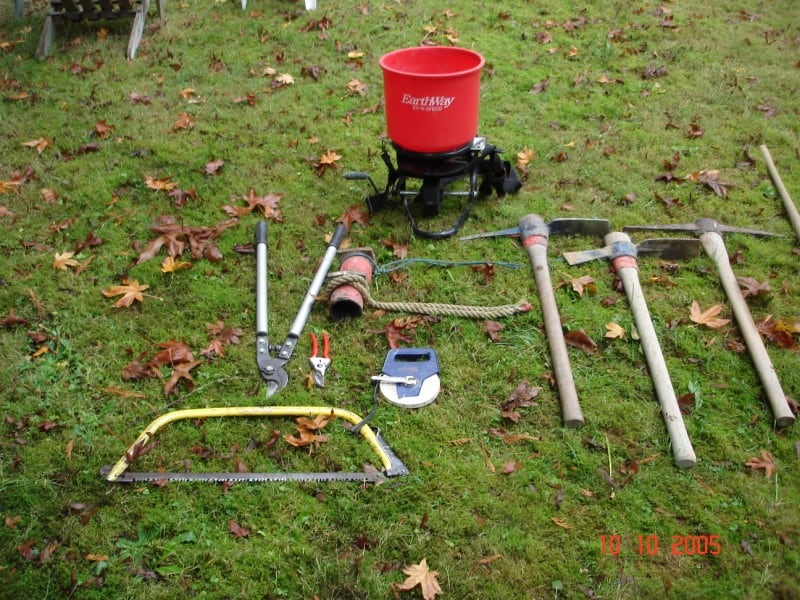
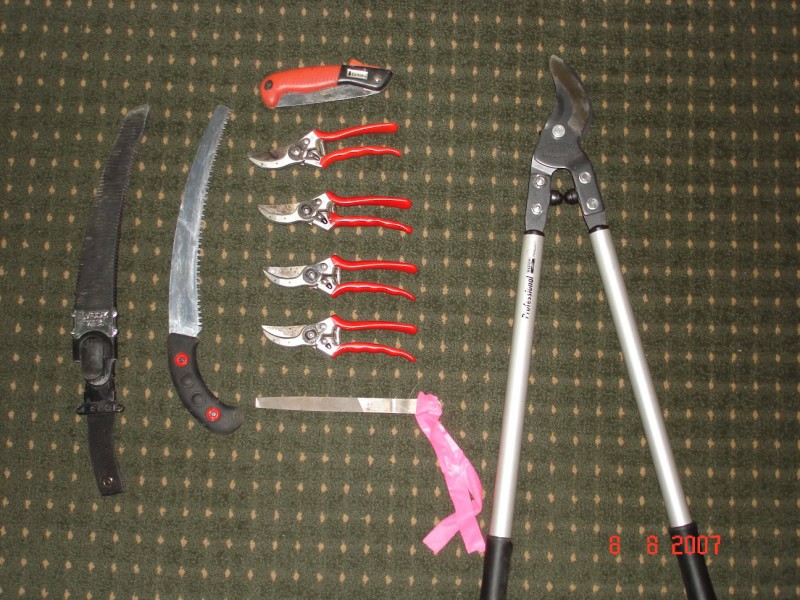
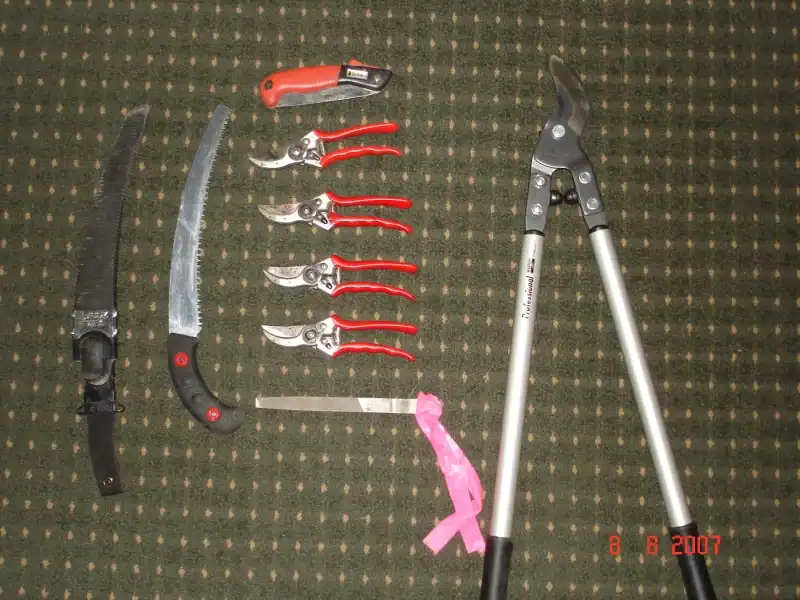
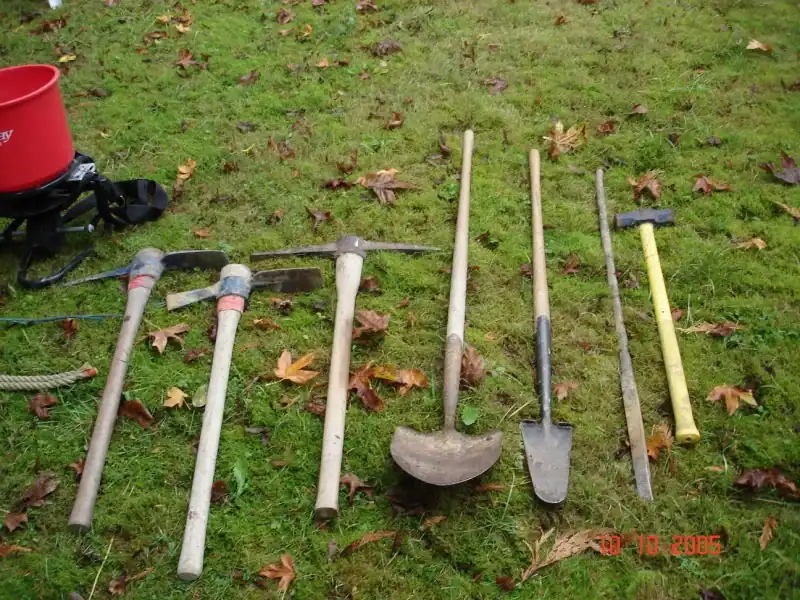
Cutting tools: a Silky Zubat saw, Felco #2 pruners, Bahco loppers.
Most of soil bioengineering is done with hand tools. For harvesting and trimming cuttings, David Polster relied on three: the Silky Zubat hand saw, which cuts nearly as fast as a chainsaw without the protective gear; Felco #2 pruners for fine trimming; and Bahco Pradines loppers for the heavier stems. Good tools keep a small crew productive and make clean cuts that root better.
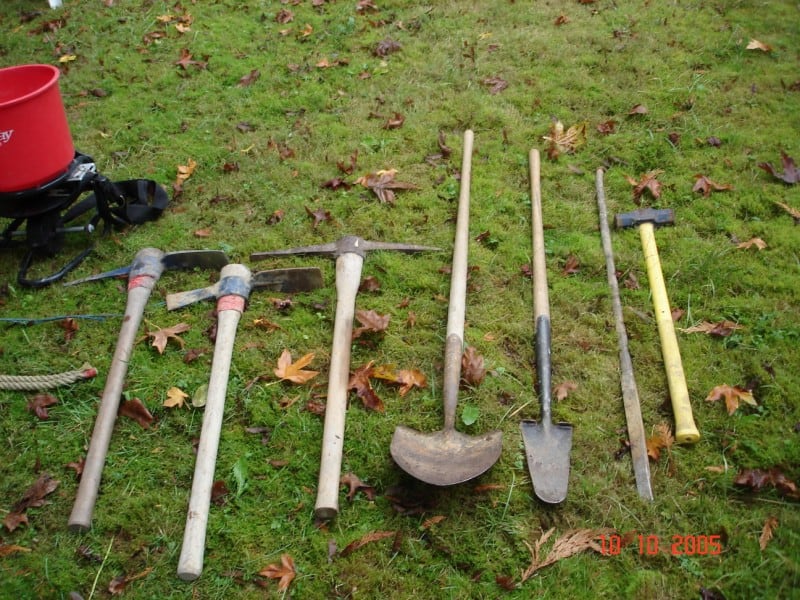
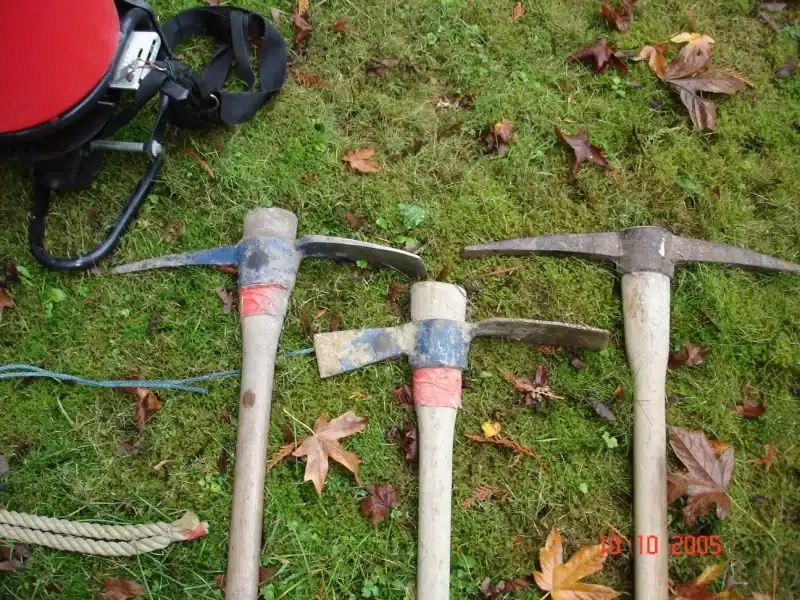
Setting structures into a slope means breaking ground that is often compacted or stony. Pick and grub-hoe type tools open planting pockets, cut the small terraces wattle fences sit on, and loosen the surface so cuttings make contact with moist soil. Simple, durable, and easily carried up a slope.
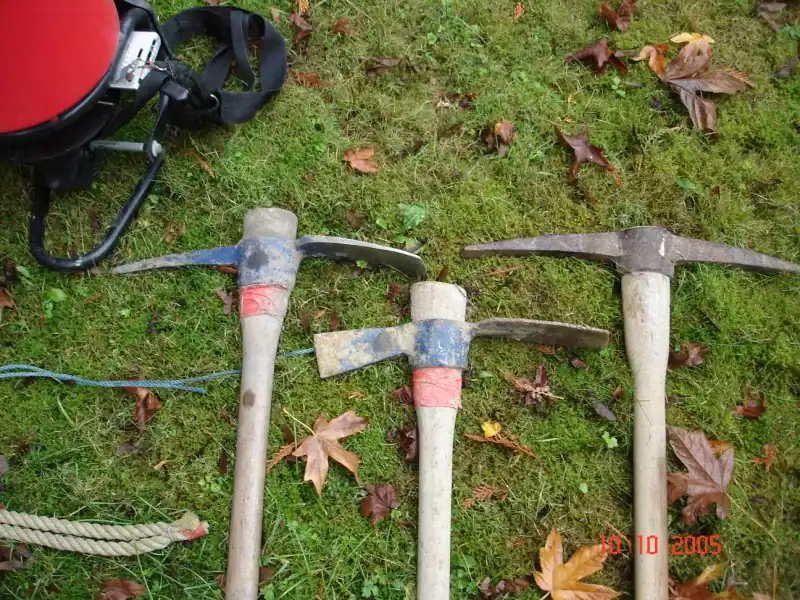
Digging tools: pick and grub-hoe types for breaking ground.
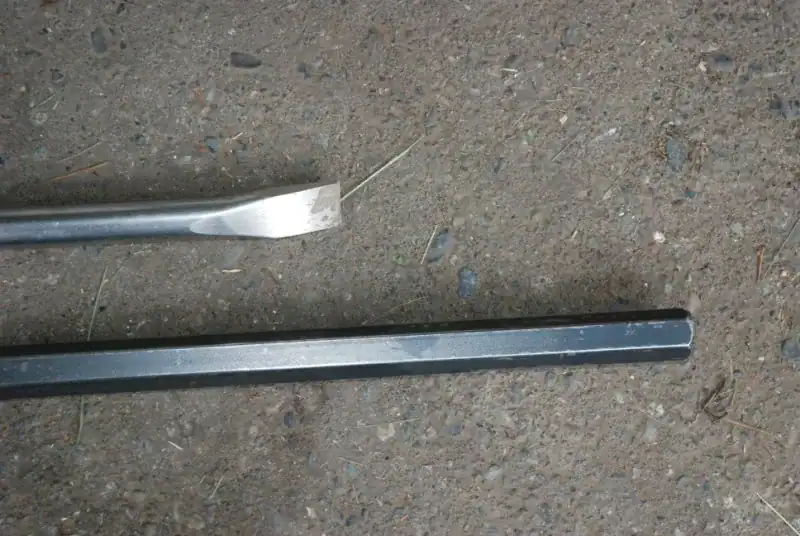
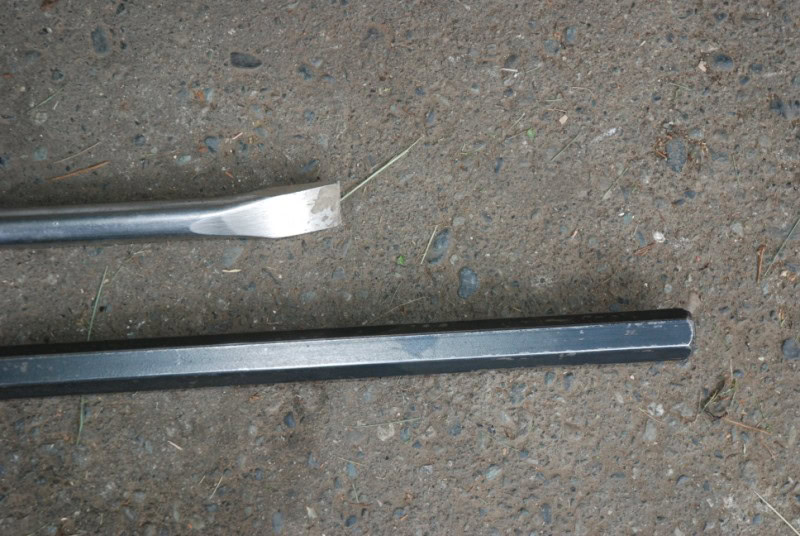
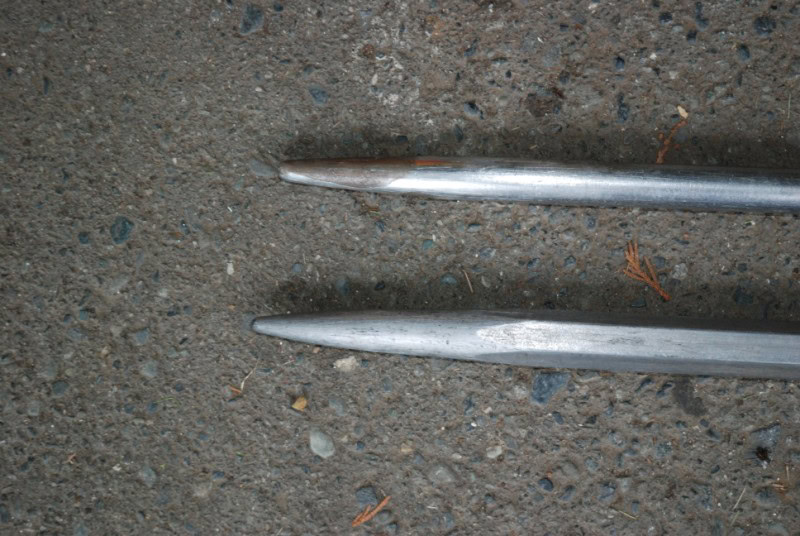
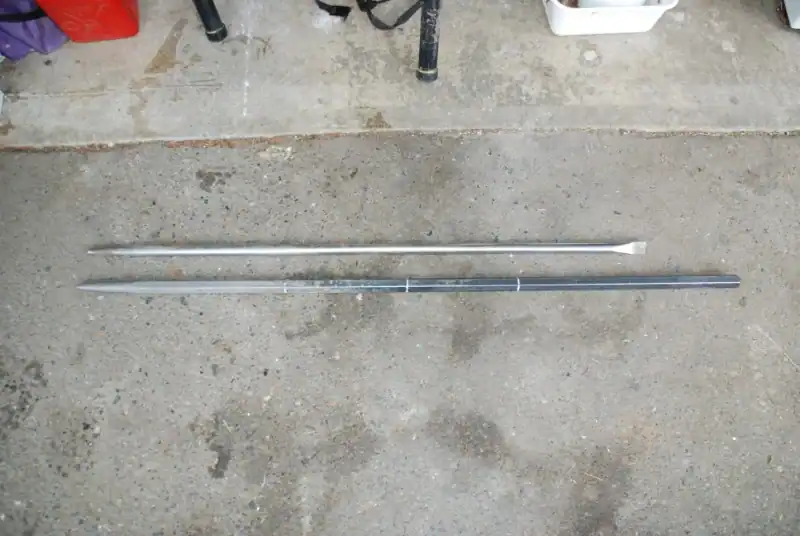
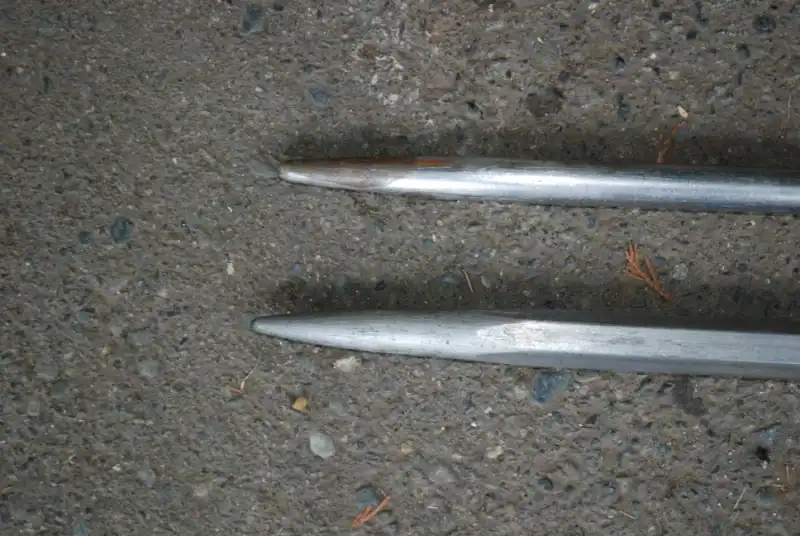
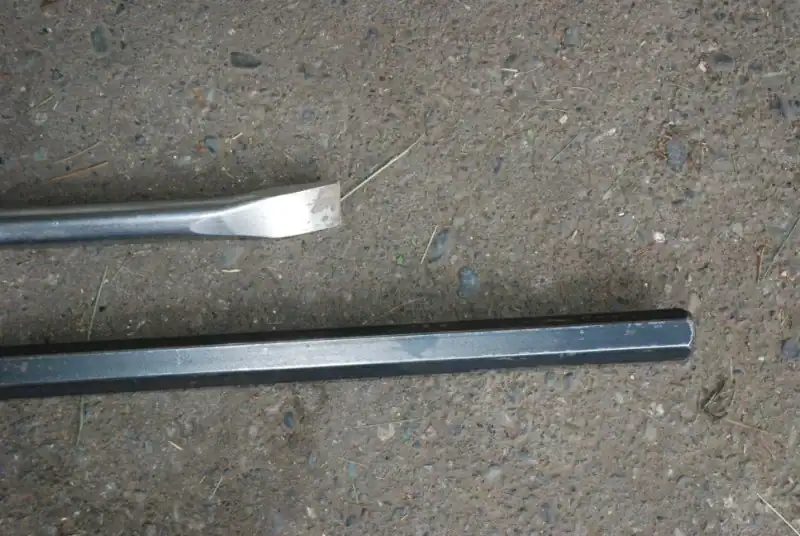
Planting bars: custom-fabricated steel for clean pilot holes.
The large planting bars are custom-fabricated from steel. A bar driven into the slope makes a pilot hole so a live stake can be pushed in without crushing its cambium against rock, the difference between a stake that roots and one that fails. On firmer ground a tapered bar reaches the moist subsurface a cutting needs to survive its first summer.
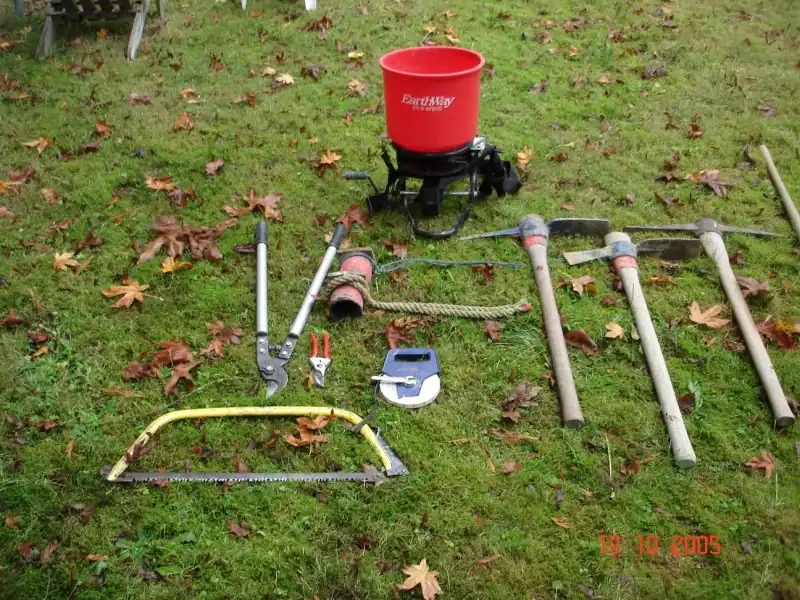
The complete kit is modest: saws and pruners, a few digging tools, planting bars, and bundling cord. Most techniques need only local cuttings and these hand tools; an excavator is added only where rough and loose treatment or live palisades call for one. Low equipment cost is part of why soil bioengineering competes so well with hard engineering.
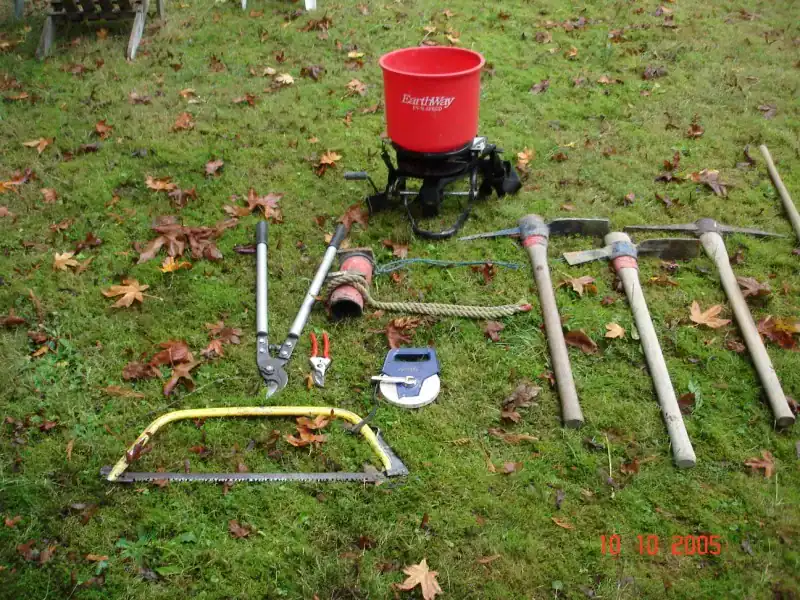
The whole kit fits in a truck.
References
- Polster, D.F. 2021. Living on the Edge: A Manual for the Restoration of Drastically Disturbed Sites. Polster Environmental Services Ltd.
Learn more
Tools & Equipment in Practice
Photographs documenting the tools and equipment used in soil bioengineering practice, from harvesting live cuttings in the field to installing wattle fences and brush layers. Effective bioengineering requires specialized knowledge of both tool selection and application technique, particularly for working in steep terrain and riparian areas.
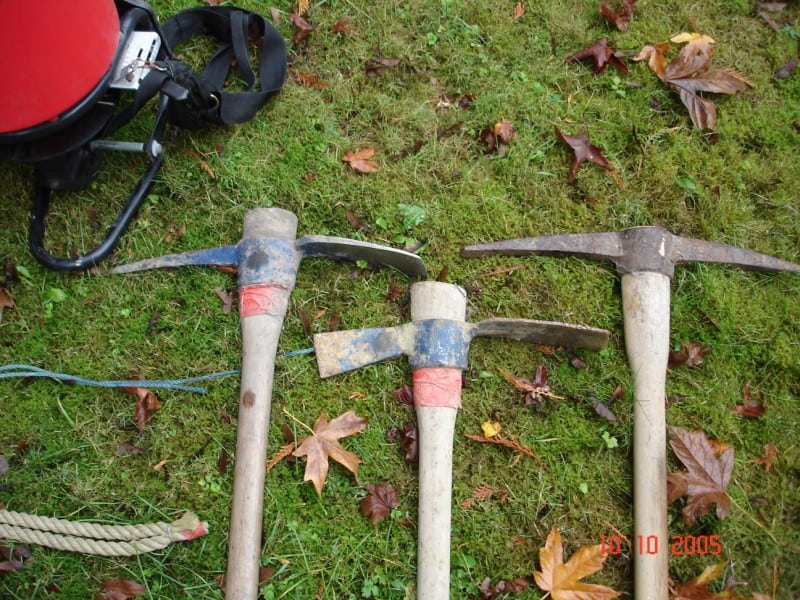
Soil bioengineering tools and equipment, field documentation
Soil bioengineering tools and equipment, field documentation
Soil bioengineering tools and equipment, field documentation
Soil bioengineering tools and equipment, field documentation
Soil bioengineering tools and equipment, field documentation
Soil bioengineering tools and equipment, field documentation
Hand Tools for the Field
The right tools make the difference between a productive installation day and a frustrating one. Soil bioengineering work on steep, rooted terrain requires tools that can handle compacted and rocky soils. A standard contractor's toolkit, picks, rock bars, loppers, and spades, covers most situations, though each site demands some adaptation based on soil conditions, plant material diameter, and slope gradient.
Cutting Tools for Preparing Cuttings
Clean cuts are essential when preparing live cuttings for installation. Pruning shears, lopping shears, and folding saws each have their role depending on cutting diameter. Blade sharpness directly affects cutting survival, a ragged cut damages more vascular tissue and creates a larger wound surface for pathogens to enter. Fresh, sharp cuts improve rooting success significantly, particularly for species like willow and cottonwood.
Pick and Grub Hoe Types
Picks and grub hoes are essential for loosening compacted soils and rooted ground on steep slopes where mechanical excavation is impractical. The grub hoe is particularly effective for clearing a work surface before planting, breaking up the root mat that prevents cuttings from being driven to adequate depth. On some sites, loosening the surface layer is the difference between a cutting reaching moisture and desiccating in the top few centimetres.
The Planting Bar
The planting bar, a heavy iron rod with a pointed or chisel tip, is the primary tool for inserting live stakes and cuttings into firm soils. Driven repeatedly in a rocking motion, it creates a tight hole that holds the cutting in firm contact with moist soil at depth. This soil-contact is critical for rooting: air pockets around the cutting will cause desiccation before roots can establish. No single tool sees more use on a soil bioengineering site.
Tool Reference Gallery
Right Tool for the Substrate
Bioengineering installation requires substrate-specific tools; wrong tools compromise root contact and reduce establishment rates.
Simple and Portable
Effective field bioengineering uses simple hand tools carried to remote sites, not machinery that disturbs surrounding vegetation.
Technique Before Equipment
Skilled installation matters more than specialised tools. The techniques can be applied on new sites with standard equipment.
Need a Site-Specific Recommendation?
We can help interpret the conditions on your slope, streambank, shoreline, or disturbed site and recommend the right combination of soil bioengineering methods.
Field kit: harvest, prepare, plant
David Polster's field-teaching material groups the tools by the operation they support. Move through the sequence from clean harvest to ground preparation and planting depth.
Clean cuts protect live material during harvest.
This is a field-method sequence, not a project timeline or a guarantee of establishment. Tool choice follows the species, substrate, moisture, access, and installation design.