
When and How to Harvest Cuttings: A Field Reference
How and when to harvest willow, cottonwood, and red-osier dogwood cuttings for soil bioengineering in BC, including timing, handling, storage, and species selection.
Dormant Season Only
Harvest after leaf drop and before bud break, when cuttings carry their highest carbohydrate and root-initiating reserves.
Willow, Dogwood, Cottonwood
Primary species for soil bioengineering are those with preformed root initials that establish rapidly once installed.
Handle and Store Carefully
Keep cuttings cool and moist between harvest and installation, and preserve their original orientation when placing them in the ground.
Why Dormancy Determines Success
The effectiveness of a soil bioengineering installation depends heavily on the physiological state of the plant material at the time of harvest. In late autumn and winter, following leaf drop, the stems of willows, black cottonwood, and red-osier dogwood contain their highest concentrations of stored carbohydrates. These energy reserves fuel root initiation and early shoot development in spring before the plant has produced leaves capable of photosynthesis. Harvesting during this window means the cutting arrives on-site with the biological fuel it needs to establish.
Shoots can develop from existing axillary buds or from adventitious buds formed elsewhere on a cutting. Roots formed on stem cuttings are adventitious roots; they can develop from pre-formed root initials or be induced after the cutting is taken. Root formation is distinct from shoot growth from axillary buds. See the USDA Forest Service review of adventitious rooting of hardwood tree species. Willows, cottonwood, and red-osier dogwood are particularly effective as cutting material because they carry pre-formed latent root initials that begin to develop rapidly once the cutting is installed and moisture is available.
Once bud break begins in spring, the plant's hormonal balance shifts: stored energy moves into new shoot growth rather than root initiation, and rooting success drops sharply. This is why the installation window is non-negotiable. Where immediate installation is not possible, keep harvested cuttings cool (0–4°C), moist, and shaded. Field storage in snowbanks is practical and effective. Cuttings stored too warm or allowed to dry out lose viability within days, and a dried cutting that appears intact will not root.
This field reference covers the practical side of cutting collection: the calendar windows, the handling rules, and the storage limits that keep harvested material alive until it goes in the ground.
Why Harvesting Matters
Soil bioengineering techniques such as Live Staking, Wattle Fencing, modified brush layers, live pole drains, and gravel bar staking all depend on the ability of dormant cuttings to root successfully after installation. The difference between a cutting that roots and one that does not is often determined before the material ever reaches the site: when it was harvested, how it was handled, and how it was stored.
When to Harvest
Cuttings should be harvested during the dormant season, after leaf drop and before spring bud break. For many BC coastal sites this means roughly November through mid-March, while interior and northern sites may have a shorter window. Once bud break begins, the stored energy needed for root initiation has already started moving into new growth, and rooting success drops sharply.
Do not harvest after bud break.
Species to Harvest
Willow (Salix spp.)
Willow is the core soil bioengineering genus across British Columbia. Scouler's willow, Hooker's willow, Sitka willow, whiplash willow, and Drummond's willow each suit different moisture and climatic conditions, but all offer strong rooting ability and rapid establishment from cuttings.
Cottonwood / Balsam Poplar (Populus spp.)
Black cottonwood and balsam poplar are particularly valuable for larger structural cuttings and riparian work where rapid canopy establishment is a priority.
Red-Osier Dogwood (Cornus sericea)
Useful as a companion riparian shrub, especially where species diversity matters and browsing pressure is manageable.
Cutting Standards
Minimum tip diameter: 2.5 cm, roughly the diameter of a thumb
Live stakes: 40 cm minimum, 60-80 cm preferred
Wattle fence vertical stakes: 1.0-1.5 m
Wattle fence horizontal stems: as long as possible, ideally 4-7 m
Live pole drains: 1-2 m poles with small-diameter twigs retained for upper-trench rooting
Larger cuttings generally root more reliably because they carry more stored carbohydrate reserves.
Handling and Storage
The three main threats between harvest and installation are desiccation, heating, and cambium damage.
Bundle cuttings immediately after harvest
Protect cut ends with wet burlap, plastic, or prompt immersion
Keep material cool and shaded
Avoid crushing, bark stripping, and rough handling
Rehydrate stored cuttings before installation
Soaking in clean water for 24 hours to several days can improve rooting success significantly.
Site Matching
| Site condition | Preferred species |
|---|---|
| Moist riparian, streamside | Sitka willow, Hooker's willow, whiplash willow, cottonwood |
| Moist but not wet slopes | Scouler's willow, cottonwood |
| Moderately dry slopes | Scouler's willow, Drummond's willow |
| Marine-influenced shoreline | Sitka willow, Hooker's willow |
| Northern or sub-alpine | Balsam poplar, feltleaf willow |
Field Reminder
When in doubt, willow is usually the right answer. It is flexible, quick to establish, and well suited to the disturbed conditions typical of soil bioengineering work.
Field Handling Examples
These archived PES training slides show the practical side of harvesting and preparing plant material: the tools used in the field, proper bundling for transport, and pre-installation soaking to improve rooting success.
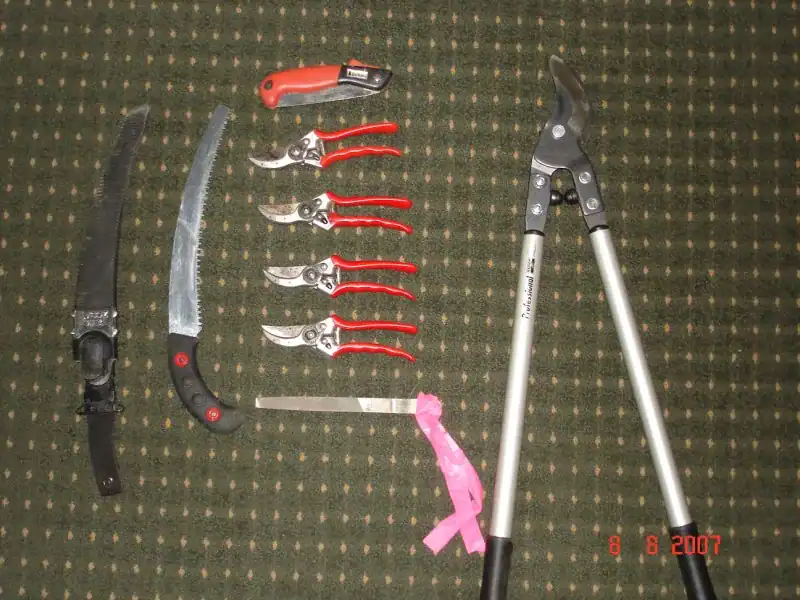
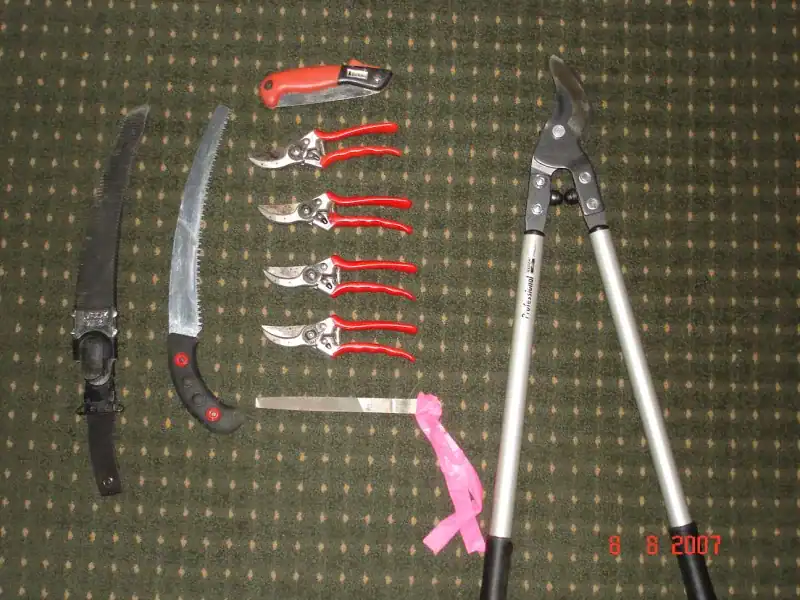
Typical harvesting tools for collecting willow and cottonwood cuttings on BC restoration sites.
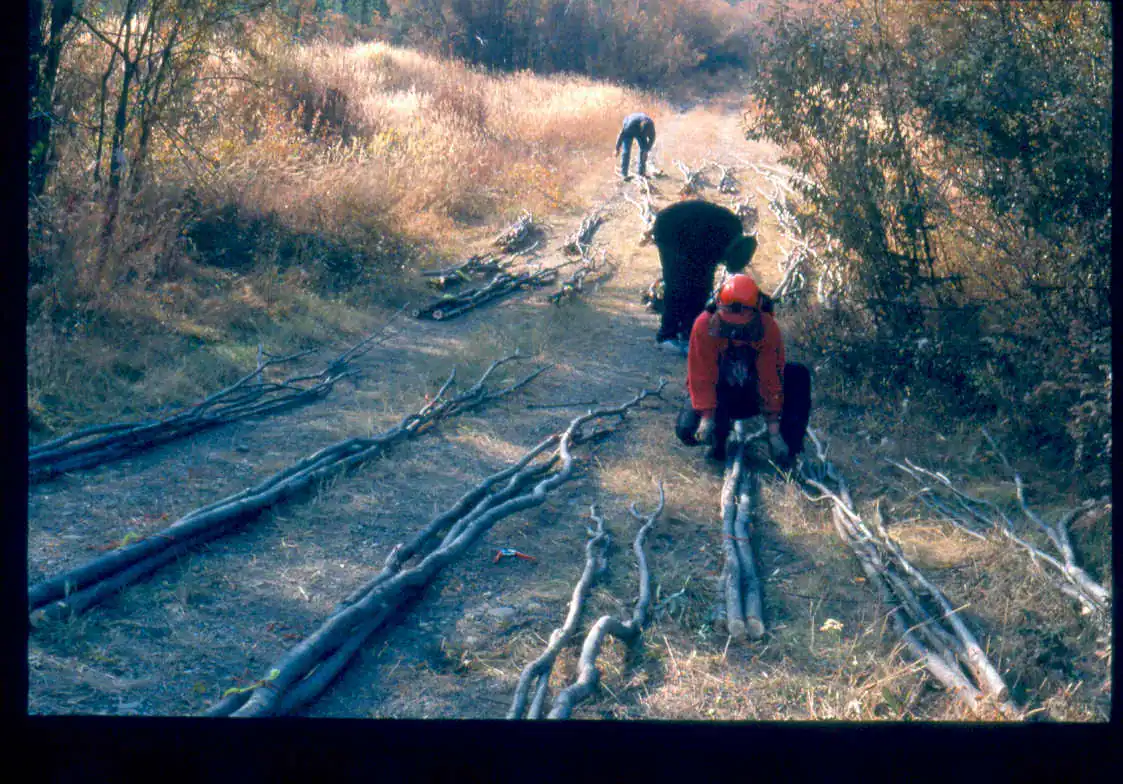
Bundles prepared for transport and staging before installation.
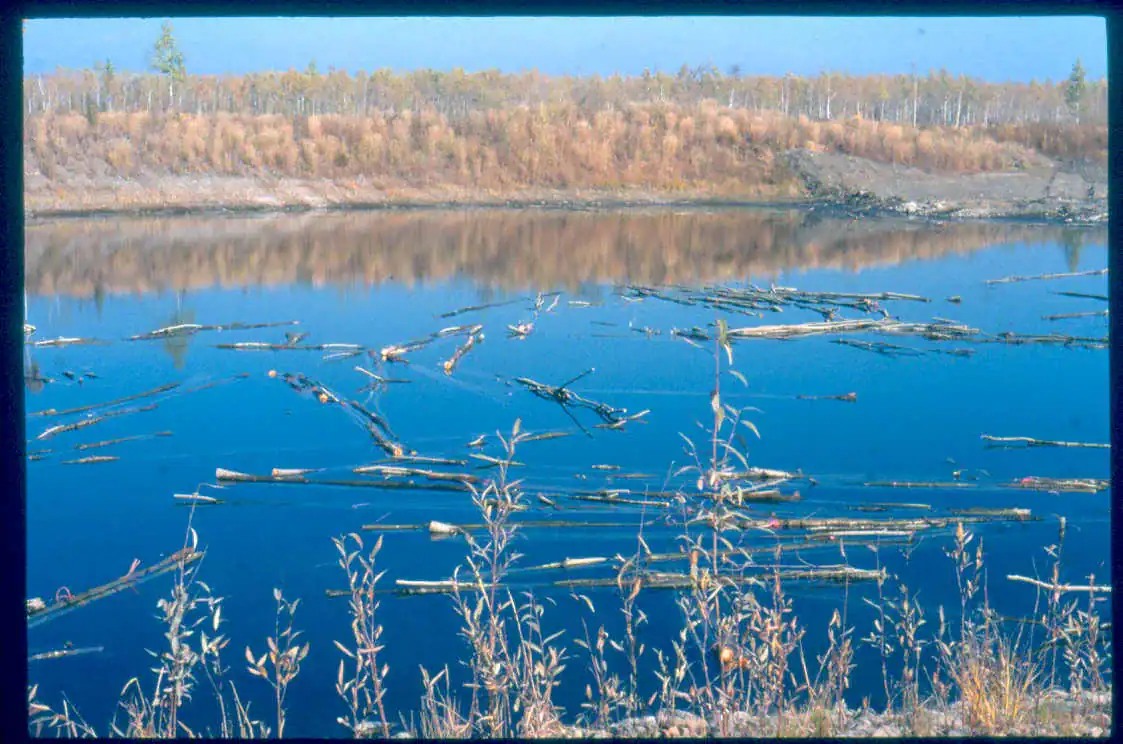
Soaking dormant cuttings before installation to improve moisture content and rooting success.
Field Tools for Harvesting and Installation
The slide deck on soil bioengineering tools is worth surfacing here because the success of a cuttings program depends as much on the field kit as on the species list. Clean cutting tools, practical digging tools, and purpose-built planting bars all affect survival rates.
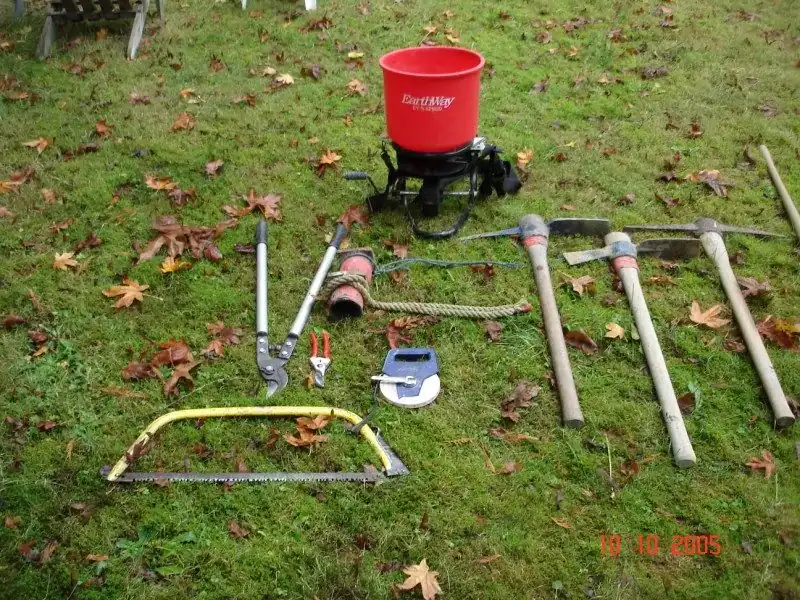
Cutting tools for harvesting willow and cottonwood material cleanly and efficiently in the field.
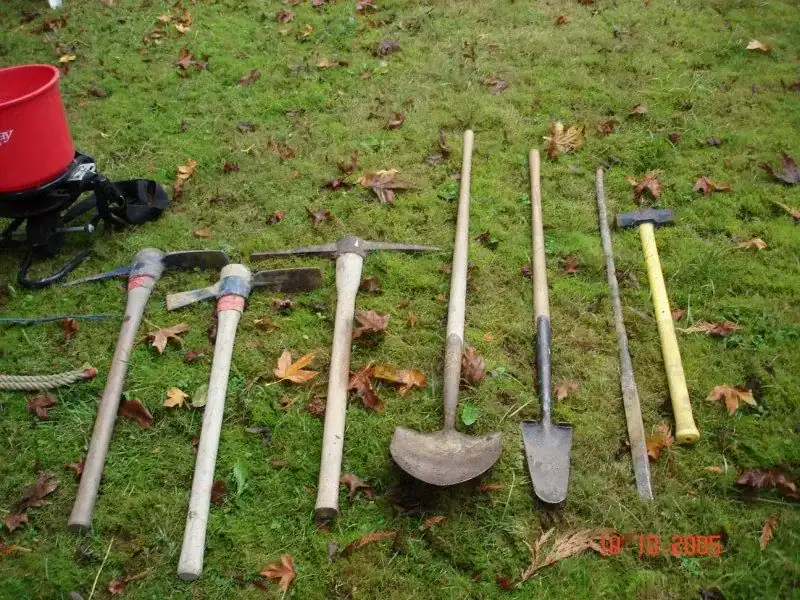
Digging and pilot-hole tools used where compacted soils or dense tills make simple hand planting unrealistic.
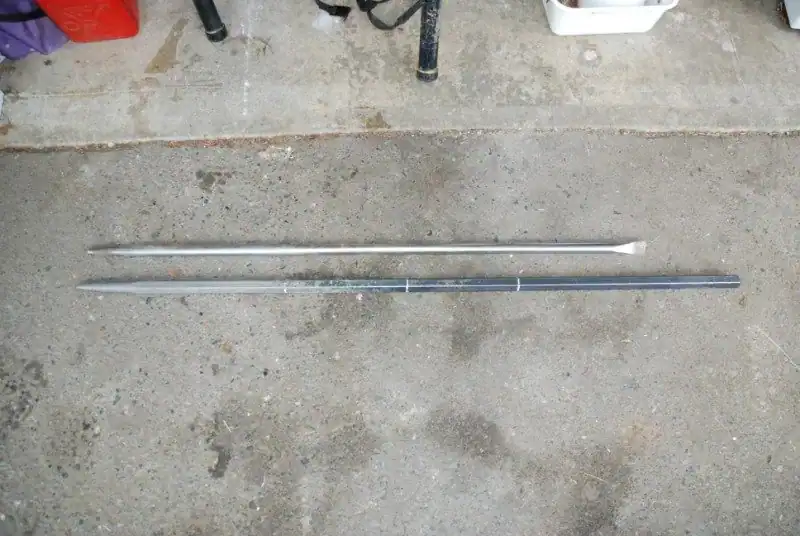
Planting bars are one of the most important specialty tools for getting stakes to the right depth without excessive disturbance.
Harvesting cuttings: from source stand to planting-ready bundles
Move through David Polster's field sequence for collecting dormant cuttings, from finding suitable regrowth through trimming, bundling, and soaking.
 Find a good collection location
Look for a collection location with suitable pioneer stems and safe access.
Source: David Polster, Segment Cuttings Collection, Google Drive archive. This is a field-method sequence, not a before-and-after restoration outcome. The complete source deck remains below.
In the Field: Collecting Cuttings
David Polster walks through collecting cuttings in the field: where to find suitable pioneering species, how to cut and bundle them, and how to keep them viable until planting. These are his own photographs and notes from the field.
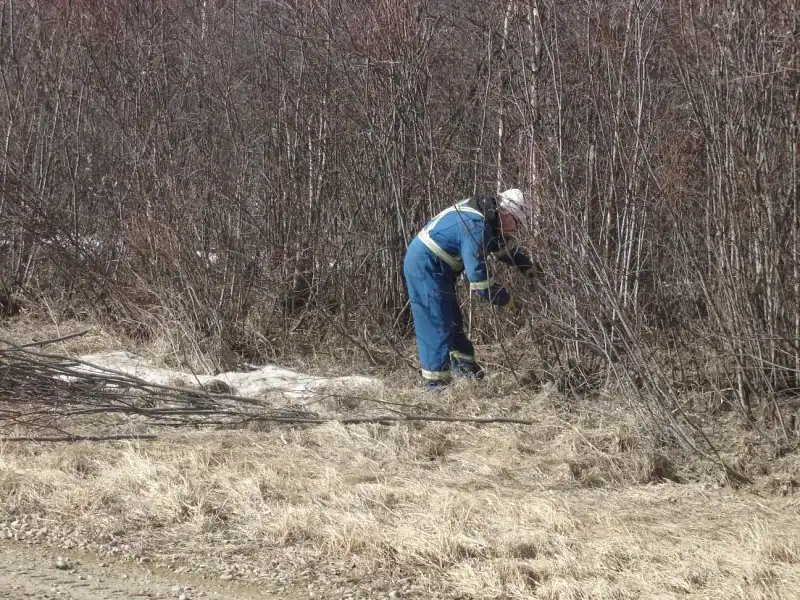
Cuttings collection usually represents about 1/3rd of the time spent on soil bioengineering projects.
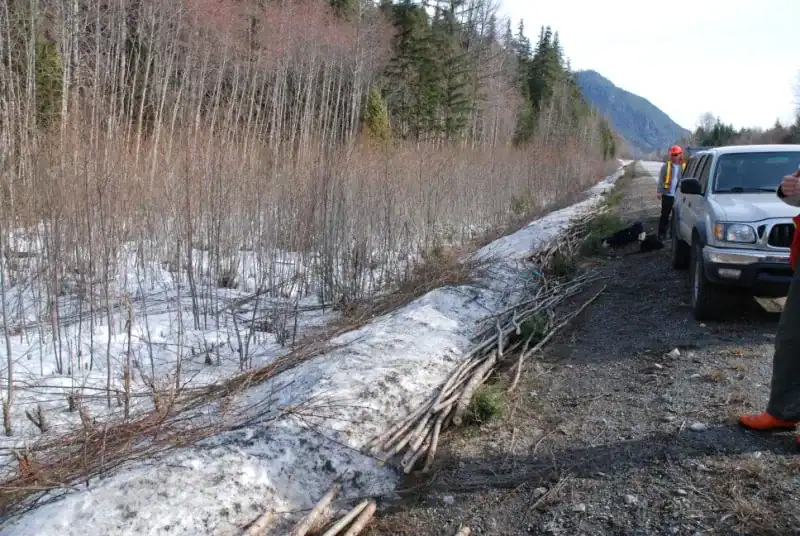
The key to efficient collections is to find a good collection location. You are looking for a site such as along a highway as shown here…
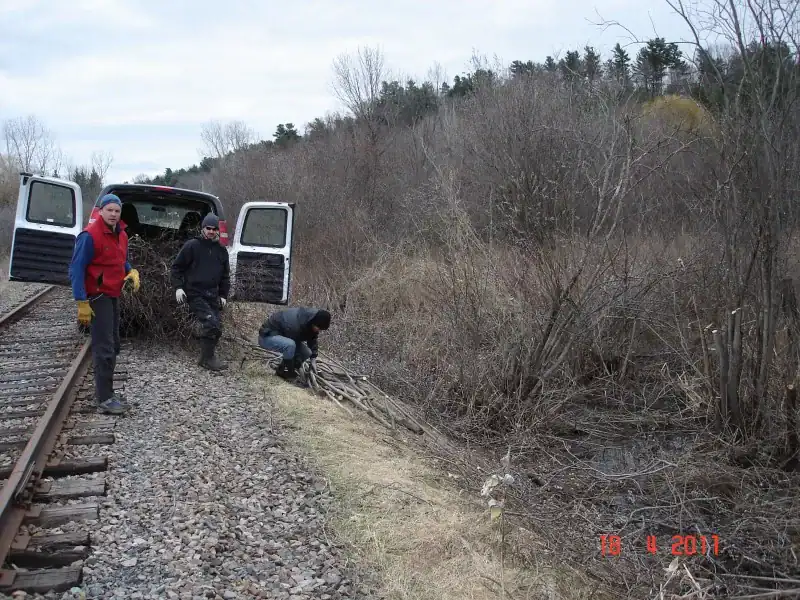
... or along an old abandoned railroad track...
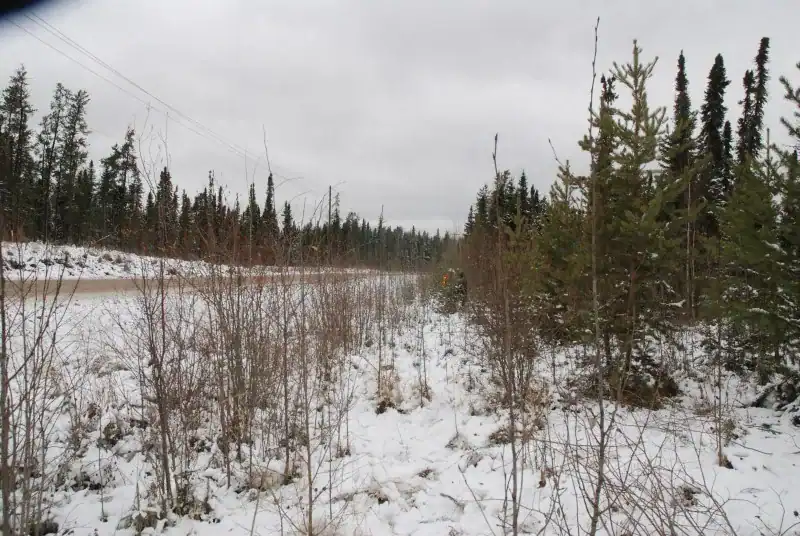
… or under a powerline where the pioneering species used in soil bioengineering have been cut back and have re-grown (suckered up) to form nice straight stems of uniform size.
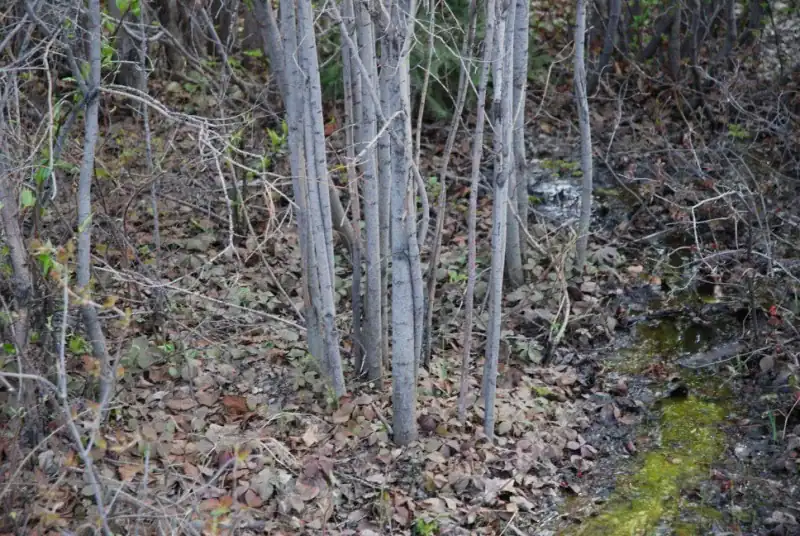
Collection of nice, uniform, straight cuttings will greatly enhance the bioengineering structure construction process. Various different bioengineering techniques require different cuttings. For instance, brush layers can be built using cuttings that are not straight while wattle fences need straight cuttings.
Using efficient collection tools is essential for collecting cuttings. I have found that the Silky Zybat saws are the best. One hand saw such as shown here can keep 3 or 4 people busy trimming and can cut as much as a person with a chainsaw without the need for all of the protective gear that goes with a chainsaw. Felco #2 pruners are the best for hand trimming while the Bahco Pradines loppers are the best loppers.
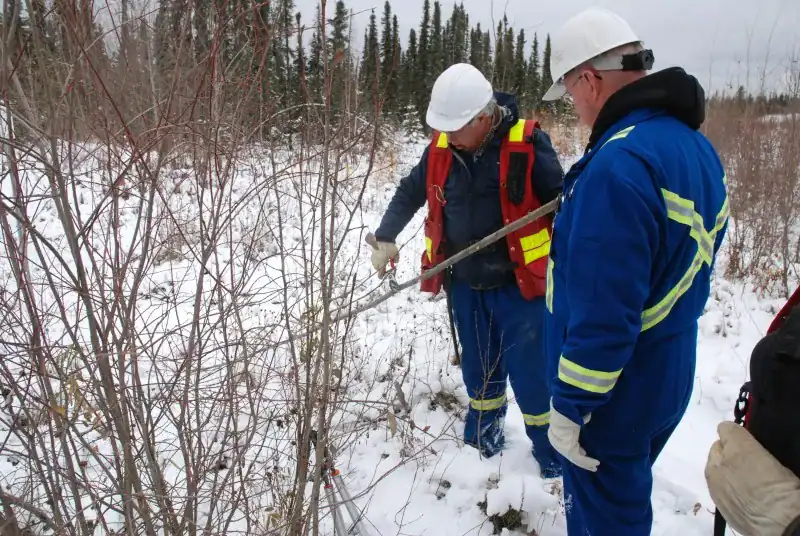
Once cut, trimming the cuttings is important. Everything that is smaller than about 2.5 cm gets trimmed off, except if you are building live pole drains where you can keep the stems down to a pencil size,
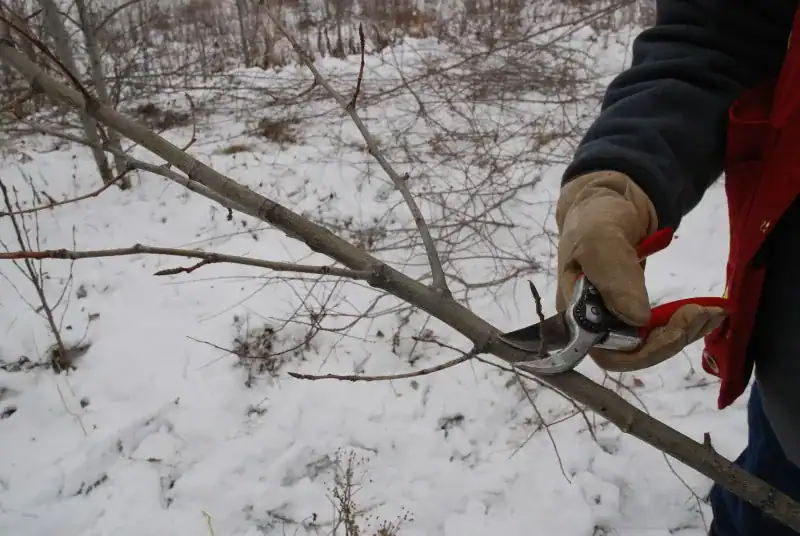
Cut the side branches off as close to the main stem as possible
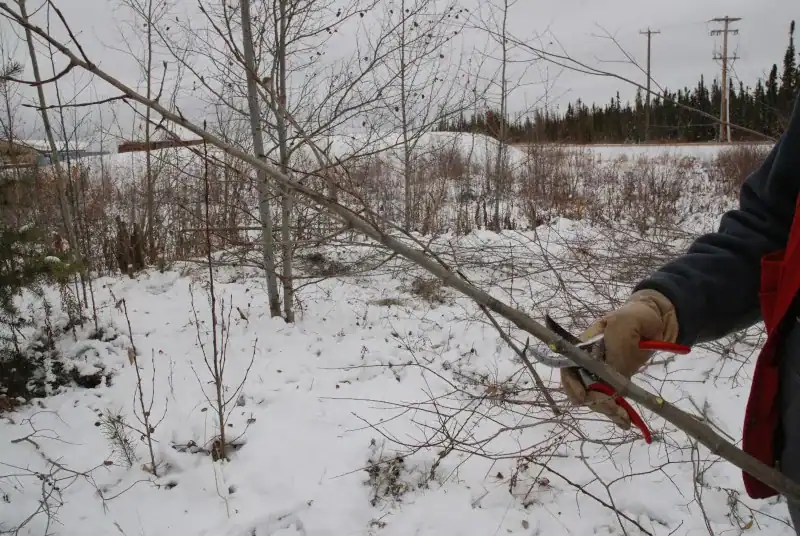
Often working from the butt end towards the tip is the most efficient way to trim cuttings.
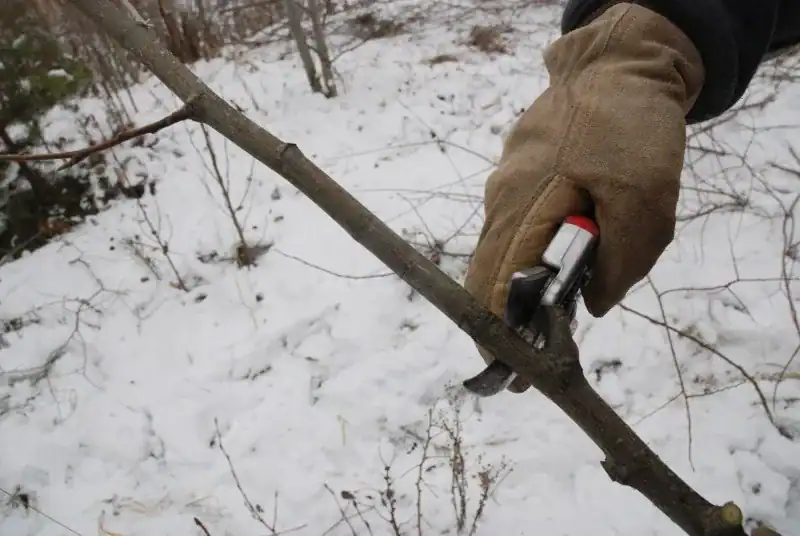
Once you get to a point where the stem is smaller than 2.5 cm in diameter (thumb size) then cut the main stem just above a branch as shown here. Trimmings can be used to provide support in areas that are very muddy.
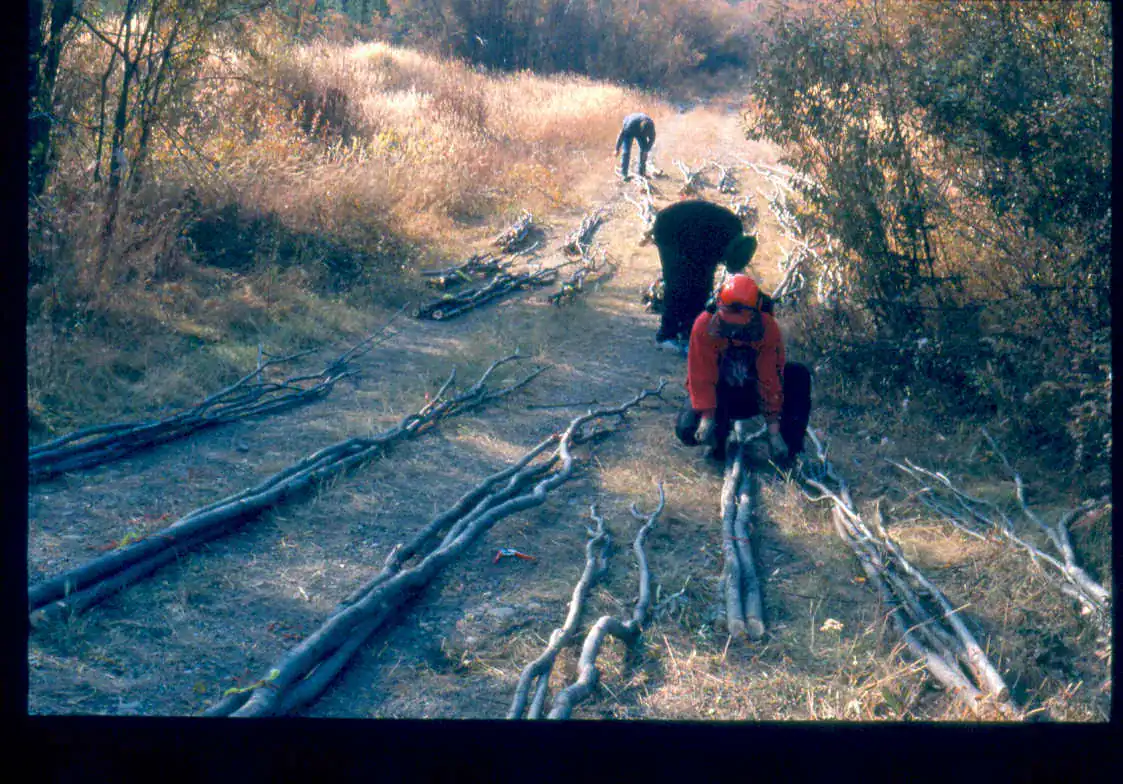
It is often best to bundle the cuttings for cuttings for ease of handling and for counting. Bundles of 10 cuttings each can usually be handled by one person except where cuttings are large such as shown here. In this case we are making smaller bundles.
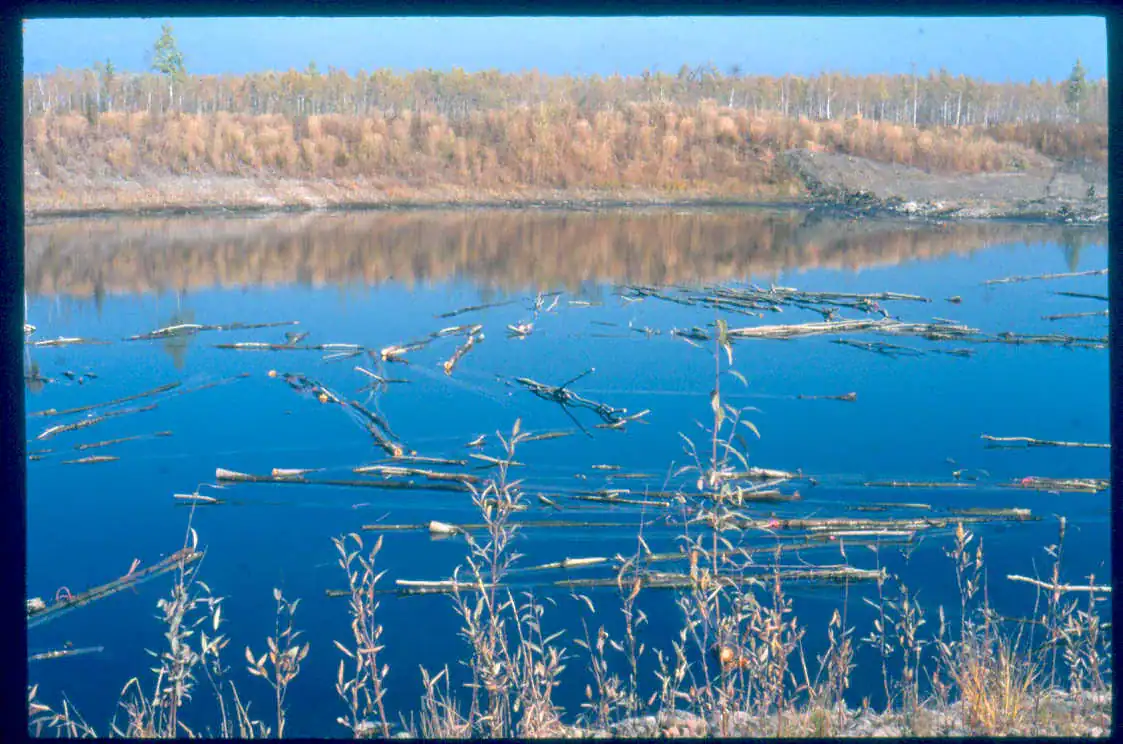
Soaking cuttings for up to 10 days prior to use will ensure they are fully hydrated and ready to sprout and grow.
Need a Site-Specific Recommendation?
We can help interpret the conditions on your slope, streambank, shoreline, or disturbed site and recommend the right combination of soil bioengineering methods.